Hi folks,
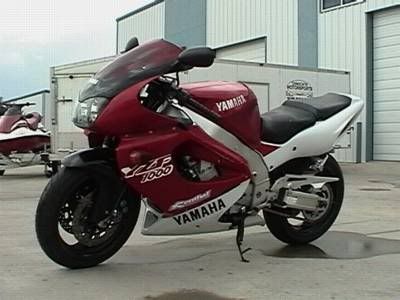
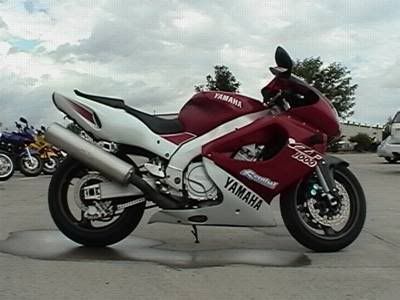
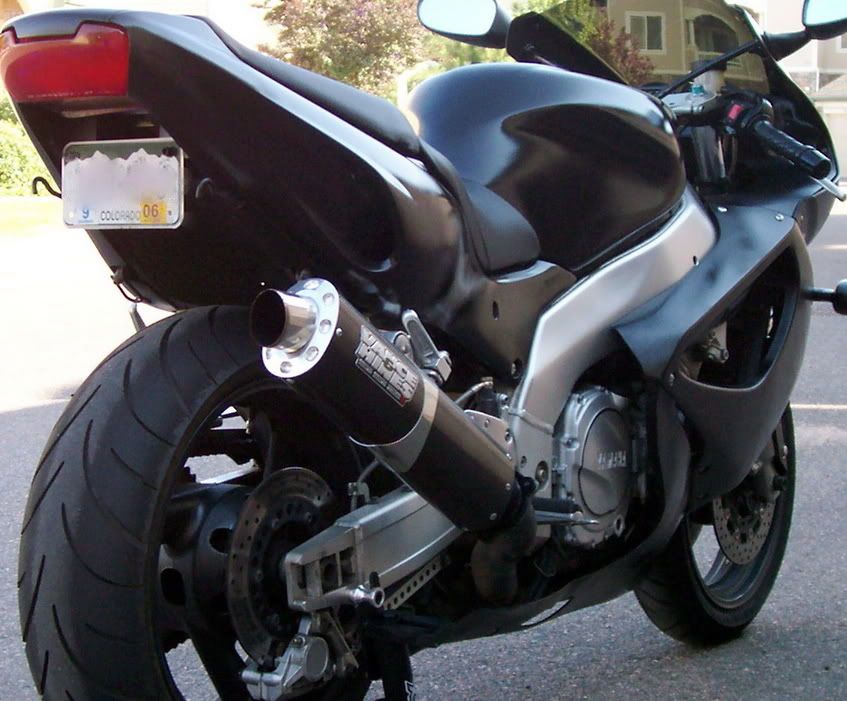
I'm finally getting around to painting and doing some bodywork on my YZF1000. I ordered various vinyl decals and they included instructions for wet and dry installs. They say the decals can be clearcoated, but I'm wondering if they need to dry completely (after wet install) or can they be clearcoated immediately. I only have access to a garage for the weekend, and will have a full day of body and prep, which only leaves one day for paint. I will put them on dry if I need to. Anyone have any suggestions or tips?
Thanks,
Blaine
Vinyl decals and clearcoat
-
LoveToRide
- Regular Poster
- Posts: 56
- Joined: Fri Jan 06, 2006 6:14 pm
- Location: Denver
-
orionburn
- Help!!! I need a LIFE!!!
- Posts: 968
- Joined: Fri Mar 26, 2004 1:06 pm
- Location: South Bend, IN
WATER + CLEAR = BAD!!!!!!!!!!!!!!!!!!!!!
Try to wait a day if you can, but if not then at least let them sit for a few hours. Take an air hose to the bodywork and make sure you get all water out of any little crevices. May want to run a hair dryer over them as well for a bit (not real close and not high temps so you don't damage the decals).
Clear coat is very tricky stuff. The guy that did my bike said he had an entire clear coat from a car he was doing go bad because his mom stopped by his shop and had perfume on it. He said he just stood there and saw the clear 'melt' away. Keep in mind you won't really be done after the clear is sprayed. You'll end up with some fish eyes and those will need to be sanded out, unless you don't mind them. After the final sanding buff the panels out, but again...be careful when buffing because you can burn the clear coat if you hit a spot that is too thin or stay in one area too long.
Are you doing this yourself or do you have a friend that is professional doing it? Barneyfzr600 is the paint guru on here, so he can give you more info than I can. I just learned a lot of how the paint process works from working on my bike in a paint shop last year.
Good luck!
Edit:
When you say weekend, are you saying for prep, paint AND clear? Not saying it's impossible to do, but if you want a solid paint job take your time with it if you can.I only have access to a garage for the weekend, and will have a full day of body and prep, which only leaves one day for paint.
Nate
1987 FZR1000 (Still with fairings!)
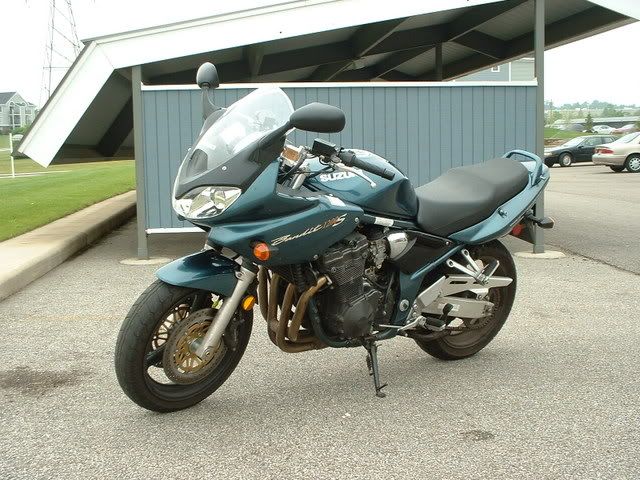
2003 Bandit 1200S (It didn't come with fairings!)
1987 FZR1000 (Still with fairings!)
2003 Bandit 1200S (It didn't come with fairings!)

-
LoveToRide
- Regular Poster
- Posts: 56
- Joined: Fri Jan 06, 2006 6:14 pm
- Location: Denver
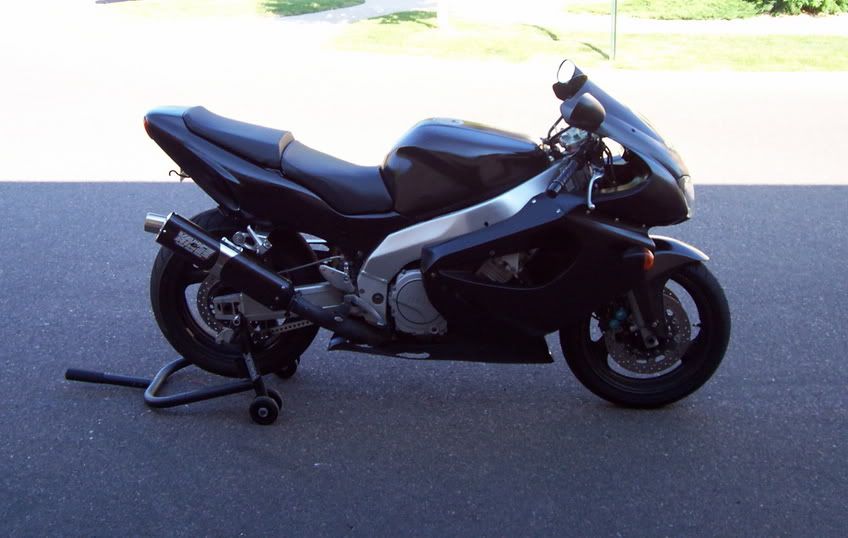
Yeah, I have a weekend to do the whole deal. I'm planning to use Dupli-Color spray paint. I used it on an upper repair when I first got the bike and was pretty impressed (I didn't clear coat it, though). I am planning to go solid gloss black.
What do you think about skipping the clear all together? Bad idea?
How about if I went went with a flat color and no clear?
I'm doing it solo in my sister's garage while they are out of town. It's my daily rider so I need to be on the road Monday morning. If I don't clear it, and put it back together, I'll never get around to doing the clear in the future
Damn, I'm starting to have second thoughts. The paint looks pretty average right now, and the main reason for doing this is to fix the previous owners inability to keep the bike upright.
-
orionburn
- Help!!! I need a LIFE!!!
- Posts: 968
- Joined: Fri Mar 26, 2004 1:06 pm
- Location: South Bend, IN
Personally...I don't like paint without clear, but that's me. I do like the matte/flat look depending on the colors. Always liked the flat grey they had on the H*nda 919s.
The big problem is the time table. You need time for the paint to dry. Then you need time for the clear to dry as well. I admit I didn't think there was much to painting before I actually got involved with it. Felt like I had Popeye arms from all the sanding I did...lol.
It was sand, then prime. Sand again, prime again. Sand one more time, prime one more time. Ok sand one more time. Then paint. Then sand. Oops...and sand again - missed a spot. Oh hell there's another spot sand some more. Ok done sanding. Clear. Guess what? Sand again....repeat....curse repeatedly...sand some more. Done! Wait...buff...oops there's a spot...little more sanding...buff again...curse and throw sh!t around for 5 minutes....sand again. Are we done? Good let me get the hell out of the building before we find anything else wrong!
Granted the guy that did my bike was a real pro, and was a stickler for detail. Not to mention the body work was 18 years old so it had it's wear and therefore needed more work than most would. Had to do a lot of repair work on the upper (thanks for the parts Barney!). If I would have gone to the shop and worked all day every day I would still say it probably would have taken at least 2 weeks to do proper. He cut me a killer deal on the price cause I did most of the SANDING and helped him with his other projects. I'm sure it could have been done quicker, but I couldn't argue to much because of the cost.
It's mainly up to you. You can do a quick job now just to get it looking better and then down the road go for a high class paint job. Like I said, Barney can chime in and offer more advice than I can since he actually does it for a living. I guess if you go into knowing it's not going to be a showroom floor paintjob then you'd probably be happy with the results. Techincally you could paint it and then clear it at another time. You just run the risk of getting some scrathes/chips in the paint, which when you clear over that will cause it to stand out more.
Nate
1987 FZR1000 (Still with fairings!)
2003 Bandit 1200S (It didn't come with fairings!)
1987 FZR1000 (Still with fairings!)
2003 Bandit 1200S (It didn't come with fairings!)
-
LoveToRide
- Regular Poster
- Posts: 56
- Joined: Fri Jan 06, 2006 6:14 pm
- Location: Denver
-
NoItsNotAnR1
- Veteran Poster
- Posts: 166
- Joined: Fri Jul 29, 2005 4:49 am
- Location: Denver
So, it's 6 months later, and I finally started my project. It's nice to have my own garage.
Nate, I'm so glad I listened to you. I worked all weekend just to get the body in shape, and have been laying primer the last two nights after work.
My bondo repair to the tank dent looked really sweet until I applied the primer. The it looked "sunk in" a bit. It's right in the curved area where the Yamaha logo is. I sanded it back down and will re-bondo tonight.
After laying primer on some pieces, I realized others will need more sanding tonight. Not to mention the sanding, primer, run, sand, primer that you mentioned. It's eating up some time.
I don't know how I envisioned doing this in 2 days! At this point I doubt I'll make "ride to work day" considering the cure time once the paint is on.
It may not look perfect when I'm done, but at least I won't be reminded about how the old owner layed it down.
Blaine
97 YZF1000
97 YZF1000
At the end of the day at least if you're not totally happy with the finished product, you'll at least have the satisfaction that you have done it yourself and not paid someone else to f*@k it upNoItsNotAnR1 wrote:It may not look perfect when I'm done, but at least I won't be reminded about how the old owner layed it down.
and you can always have another go later
...all the time learning and gaining experience through practice
-
NoItsNotAnR1
- Veteran Poster
- Posts: 166
- Joined: Fri Jul 29, 2005 4:49 am
- Location: Denver
-
barneyfzr600
- Help!!! I need a LIFE!!!
- Posts: 624
- Joined: Wed May 19, 2004 2:41 am
- Location: Cali. Bay Area
- Contact:
Use some black paint as a guide coat. It'll show u where the low spots are. As for sanding the curve on the tank, sand the most flattest area first and then go for the rounded edge after its about feathered. If you need any other help, feel free to PM or email me. I'll be glad to help out! This goes for anyone!
Woot, I had a FZR1K.................now I got a '02 R1, but still lookin for the right EXUP......
-
NoItsNotAnR1
- Veteran Poster
- Posts: 166
- Joined: Fri Jul 29, 2005 4:49 am
- Location: Denver
Thanks, man. That's really cool of you.
I finally got the tank to where I'm happy with the repair, and started to paint it last night. Right after I applied the first coat, my wife got home from the grocery store. She's 8 months along, so I ran to take the stuff up the 3 flights of stairs. I left the garage door open.
When I came back down I layed the second coat, and realized there was zero shine. I was concerned, but some of the smaller pieces I'd started with didn't look very shiny at first, either, so I figured I needed more paint. It was dark out by now, so I hit it with the clearcoat. I think I already knew at this point I should stop.
If you guessed that my surface was contaminated, you are correct! The wind gusted up and layed a layer of dirt on my first coat. This morning it's time to sand it back down!
I had already decided that my work is only going to look "just so", but the tank is bad enough that I have to redo it.
On the bright side, I'm learning something new every day. It just sucks that the new things I'm learning always seem to involve the laborous task of sanding and starting over. I have even greater respect for paint and body pros after all this.
I need to get it done, though. Having the bike in pieces in the middle of summer is killing me!
Blaine
97 YZF1000
97 YZF1000
-
barneyfzr600
- Help!!! I need a LIFE!!!
- Posts: 624
- Joined: Wed May 19, 2004 2:41 am
- Location: Cali. Bay Area
- Contact:
Before you start painting, seal off any gaps that air/wind can get through with some tape. An exhaust fan works wonders too. It'll move the atomized material away from the work surface. I don't know what kind of gun you are using, but make sure the tip and needle are 1.3-1.4 mm. That'll give you the best atomization. Use a piece of clean paper(not newspaper) to check the spray pattern and air pressure. Remember to use smooth even strokes. Depending on the activator for the materials, u only got a certain amount of time! Hope this helps, cuz I only work in a body shop on a daily basis 
Woot, I had a FZR1K.................now I got a '02 R1, but still lookin for the right EXUP......
-
NoItsNotAnR1
- Veteran Poster
- Posts: 166
- Joined: Fri Jul 29, 2005 4:49 am
- Location: Denver
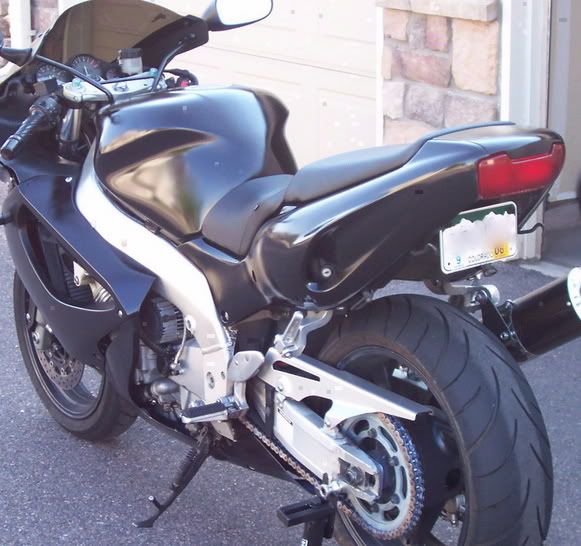
Well, it's done. I don't even want to admit to some of the things I did to get to this point. It took 8 days and the finished product won't impress anyone. 50/50 job, more or less.
I learned a ton, though, and will probably redo it in the off season. I think I can do a much better job with what I now know. Unfortunatly, I reached a point where getting back out on the road was more important than how it looked.
I did get to meet a lot of my neighbors, and pretty much all the riders that passed by stopped to chat. That alone (and fixing the body damage) makes it all worth while.
I'll post some pics once it's back together. Ride to work day here I come!
Blaine
97 YZF1000
97 YZF1000
-
barneyfzr600
- Help!!! I need a LIFE!!!
- Posts: 624
- Joined: Wed May 19, 2004 2:41 am
- Location: Cali. Bay Area
- Contact:
-
NoItsNotAnR1
- Veteran Poster
- Posts: 166
- Joined: Fri Jul 29, 2005 4:49 am
- Location: Denver
Actually, yeah!
I have yet to see what it will look like with all the pieces back on, and out in the sunshine. If it looks really scary it may become "decal of every aftermarket product and brand I use" bike for a while. You know, a bunch of stickers to cover up and give the eye something else to focus on other than the paint. Only downside is then I have to remove all that crap when I redo it. Normally I'm not a big fan of all the decals, but sometimes ya gotta do watcha gotta do.
I have yet to see what it will look like with all the pieces back on, and out in the sunshine. If it looks really scary it may become "decal of every aftermarket product and brand I use" bike for a while. You know, a bunch of stickers to cover up and give the eye something else to focus on other than the paint. Only downside is then I have to remove all that crap when I redo it. Normally I'm not a big fan of all the decals, but sometimes ya gotta do watcha gotta do.
Blaine
97 YZF1000
97 YZF1000
-
NoItsNotAnR1
- Veteran Poster
- Posts: 166
- Joined: Fri Jul 29, 2005 4:49 am
- Location: Denver